
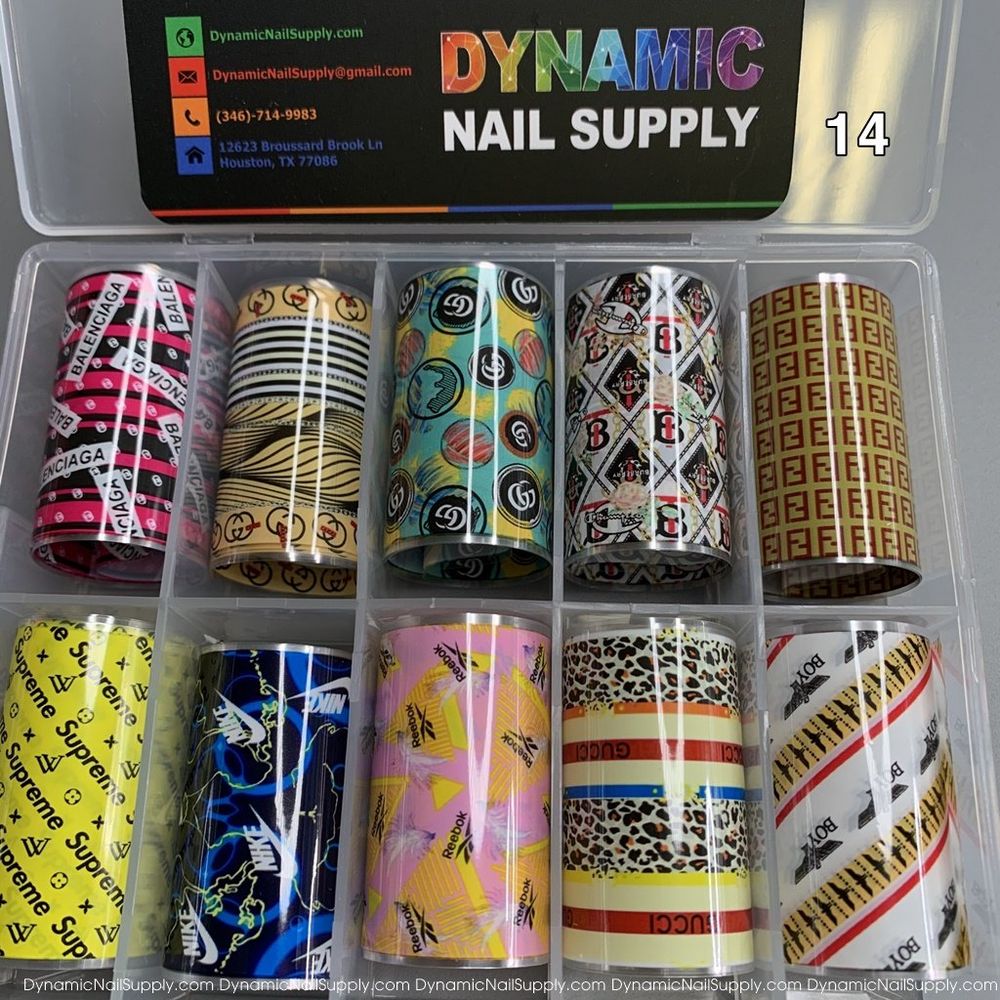
Metallic shimmer and micro-patterned accents are back on trend this season, and nail art foils are a fast way to refresh your set without a full redo. Whether you want subtle shine for everyday wear or bold, holiday-ready details, these thin design foils transform a simple manicure into a seasonal statement.
For an easy update this season, pick up a versatile versatile nail art foils priced around $6.00 and experiment with layering, negative space, and accent nails for current looks.
Why foils are trending this season
This year’s nail trends lean toward texture and contrast: glossy bases paired with metallic accents, micro-graphic patterns over muted tones, and delicate foil fragments for a “lit-from-within” effect. Foils deliver that look quickly — they reflect light differently than polish, making small details pop in photos and in person.
Quick seasonal looks using nail art foils
- Minimal metallic tips: Apply thin foil strips to the free edge of a neutral base for a modern French with a seasonal twist.
- Negative-space shards: Apply foil in irregular fragments over a clear or nude base to create chic negative-space nails that read as editorial yet wearable.
- Accent glitter swap: Replace one glitter accent nail with a full foil-covered nail to keep sparkle without bulk.
- Matte-and-shine contrast: Seal most nails with a matte topcoat, then add foil accents on one or two nails for a luxe contrast that photographs well under seasonal lighting.
Step-by-step: basic foil transfer method
Foil application can be adapted to salon and at-home workflows. The method below is a simple approach that works with common systems.
- Prep: Clean nails, push cuticles and apply a smooth base coat. Cure if using gel.
- Color layer: Apply your chosen polish or gel color and fully cure or dry.
- Adhesive: Use a tacky layer or foil glue where you want the design to transfer. Wait for the proper tackiness — the foil should adhere without sliding.
- Transfer: Place the foil design side up onto the tacky surface, press firmly, then peel back gently to reveal the transferred pattern.
- Finish: Seal with an appropriate topcoat to lock in the foil. For foil on top of matte areas, apply a glossy or matte seal depending on the intended contrast.
Advanced styling and layering ideas
Once you’re comfortable with basic transfers, try these seasonal-forward techniques to keep sets fresh:
- Layer with stamping: Apply a faint stamped pattern under a partial foil transfer for depth and a designer feel.
- Foil gradients: Use smaller foil fragments concentrated at the cuticle or tip and fade them out for an ombré metallic look.
- Mix textures: Combine micro-foil scraps with fine glitter or chrome powders on separate accent nails for a curated, editorial set.
Key features in context
Nail art foils offer instant visual impact without adding bulk to the nail surface. Because they come in design-focused sheets or strips, they’re ideal for creating focal points: single accent nails, metallic French lines, or layered motifs over color. Their thin profile lets topcoats lie flat, reducing the need for heavy building while still delivering high-shine effects.
Who should use these foils
These design foils suit a wide range of users: salon technicians who want a fast seasonal upgrade between full sets, nail artists building mixed-media designs, and at-home enthusiasts who favor quick transformations. They’re particularly useful for busy clients seeking a trendy look without extended service time.
Care, longevity and safety notes
To maximize wear, ensure foils are fully sealed with the correct topcoat for your system. Proper sealing prevents edges from lifting during daily activities. Keep products away from small children and store foils flat in a cool, dry place to avoid creasing.
Practical tips for pro results
- Work in small sections for precise transfers, especially with intricate designs.
- If a foil doesn’t fully transfer, press firmly with a silicone tool or orangewood stick before peeling.
- Use contrasting base colors to make metallic hues and patterns read more dramatically in photos and in bright seasonal lights.
- Keep a clear edge buffer: trim excess foil carefully and finish with a thin layer of topcoat to avoid a raised edge.
Pricing for this type of design foil is accessible — this item is offered at about $6.00 — and makes an affordable way to test seasonal trends in your menu. Dynamic Nail Supply carries similar creative tools for rapid polish upgrades.
Conclusion: Nail art foils are a quick, cost-effective way to capture seasonal trends without a complete overhaul. With simple application and a few creative layering ideas, you can deliver modern, on-trend nail art that delights clients and keeps your portfolio current.
